
Step-by-Step process:
1. Open photo into your editor
2. Adjust levels
3. Re-size if needed
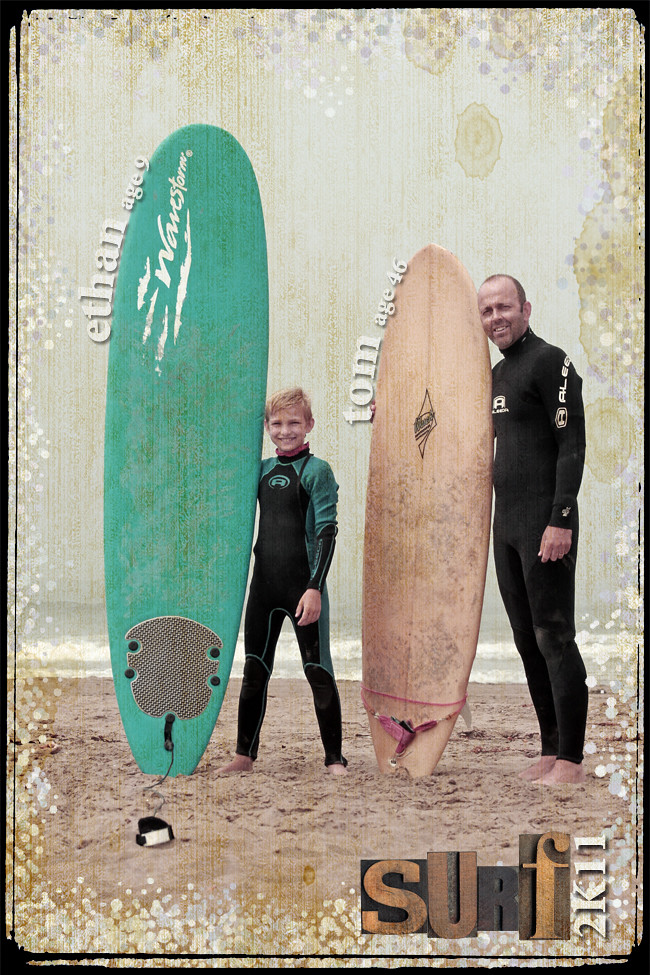
4. Reduce the hue & saturation to give it a vintage feel
5. Select a texture brush to add small dots around the edge of the photo. Make sure adjust the scatter 13%, hue jitter 15% and scatter 57%
6. Make sure your foreground and background color are complimentary to your photo. I used white in the foreground and navy blue for the background
7. Add a new layer for the brush effect. Drag your brush along the edge of the photo to create a brush "frame" or texture
8. I used an overlay from http://www.designerdigitals.com for the vintage effect edge.
9. I used the typeset letters also found at the above website
10. Add text using the T tool. Remember to add names and dates to photos...you think you won't forget, but you will.
Want to learn more about creative photo editing?
Go to our website and sign up for Photoshop Elements class: www.jjpaperco.com